This Particular article is on how to make a cave diorama from plaster cloth .
I used a wooden board 1 foot by 1foot as the base . I then used cardboard to do the walls of the cave and the arch for the entrance.
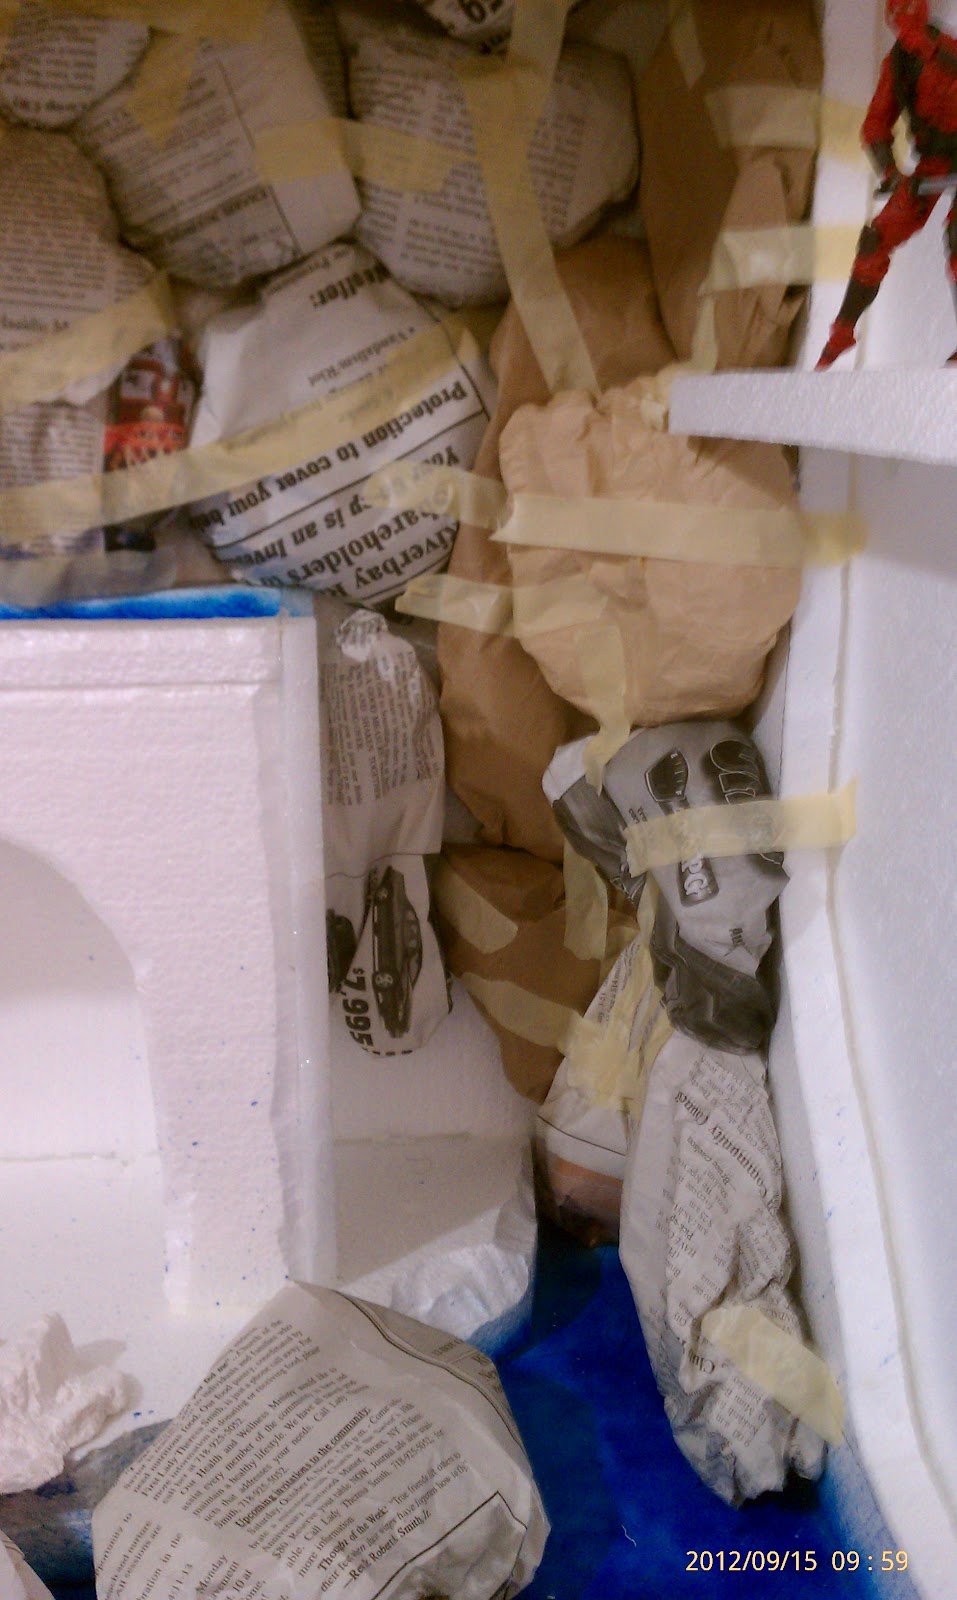
Now for the most boring part , the news paper . The news paper is folded in on itself like a pillow you need to make as many or as few of these as you want . The newspaper pillows will then be applied to your walls to give the cave walls definition and contouring . The wads are held in place by masking tape and you can apply them in any way youd like .
The next step is the cutting the plaster cloth . Plaster cloth is gauze strips that have been presoaked in plaster you then cut them to desired size and witdth went in water and apply to your projects bubble side up ( I have videos on my youtube page showing how to apply them)
After the cloth is applied and smoothed you allow it to dry and then you can reapply in areas that you feel need more coverage . Remember the cloth will not only make your project heavier but it will also make it strong.
After the plaster has dried and your happy with it , After the plaster dried I applied woodland scenics paint stains . Now lets be clear you can use any type of paint you like but I recommend either woodland scenics or an acrylic paint thats been watered down . No enamels. I apply the paint in a tiger pattern just dabbing here and there with the diffrent stain colors then when I'm happy I apply a black wash . A black wash is 1 part black paint then 3 parts water it really thens the paint out the wash has only one purpose and that is to make the details pop out and to look for all the nooks and crannies and fill them in with color . Now after the paint is dry go back and see if it needs any touch ups remember there is no right or wrong way to do this . The only one that has to be happy here is you . If you like the paint job then now is the time when you apply a spray of white glue on your project . the white glue will dry clear and it seals your project so that it retains its finish .
Thats pretty much it now if you want to add folliage and ground effects thats totally up to you .
 |
| Add caption |
 |
| Filling in the space with cardboard |
|
 |
| Im not a very good at measurements I just tend to take whatever I am going to use the dio for and build around it |
|
 |
| This is a 20 pound box of plaster cloth |
 |
| Applying the paint in a random tiger pattern |
 |
| Here I left some of the area unpainted for this pic so that you can see the difference the paint makes |
|
 |
| The cave is great for photos |
 |
| Finished Project |
 |
| As You can see the Cave photographs nicely |